
JavaScript DOM Manipulation: Complete Beginner's Guide for 2026
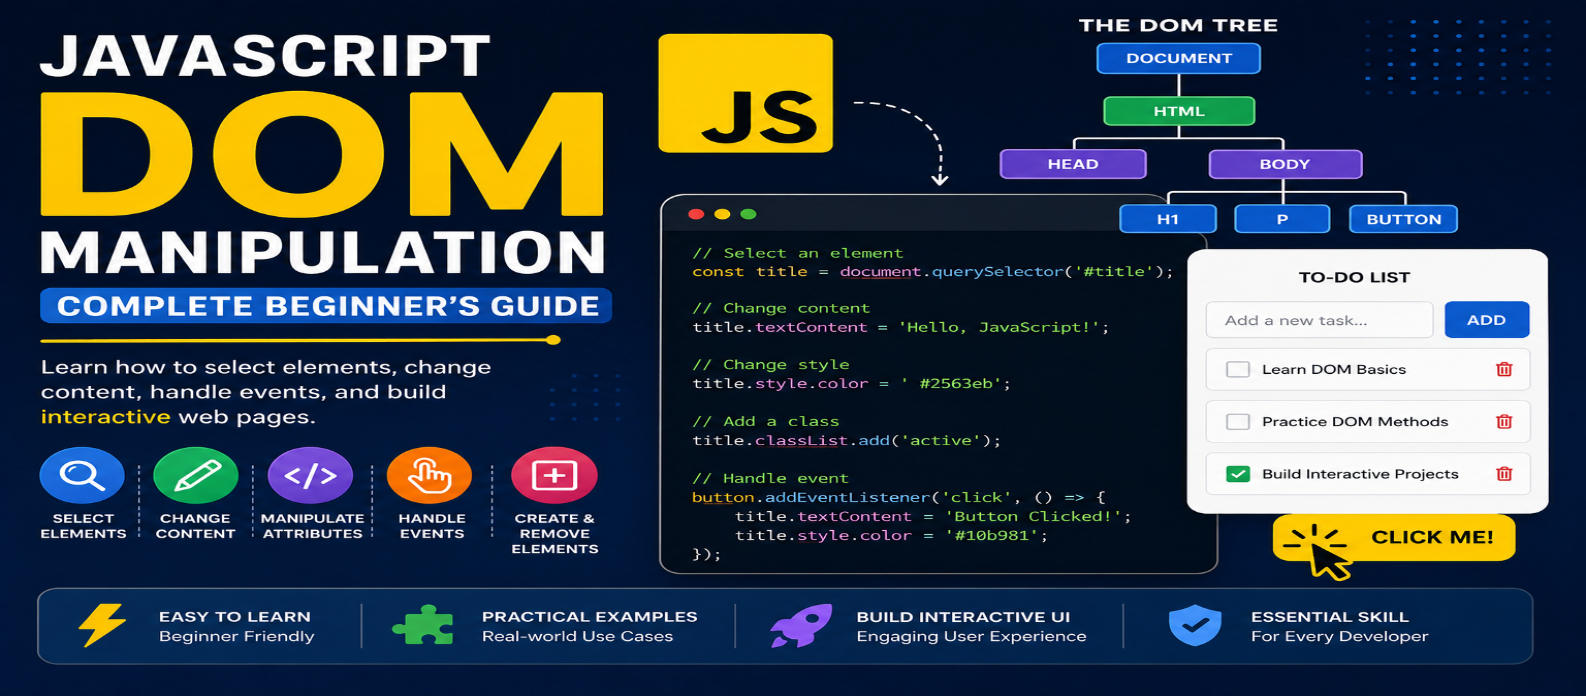
"Learn JavaScript DOM manipulation from scratch with practical examples covering element selection, events, content updates, classes, attributes, creating elements, and event delegation."
JavaScript DOM Manipulation: Complete Beginner's Guide in 2026
A webpage built with HTML and CSS can display content beautifully, but modern websites often need to respond to users, update information, show or hide elements, validate forms, create components, and change content without reloading the entire page.
That's where JavaScript DOM manipulation becomes important.
The DOM (Document Object Model) gives JavaScript a structured way to access and modify a webpage. Once you understand how to select elements, change their content, manage classes, create new elements, and respond to events, you can build genuinely interactive interfaces.
This beginner's guide covers the DOM concepts you'll use most often in real web development.
What Is the DOM?
When a browser loads an HTML document, it creates a structured representation of that page called the Document Object Model.
Consider this HTML:
<body>
  <h1>Welcome</h1>
  <p>Learn JavaScript DOM manipulation.</p>
</body>
The browser represents these elements as objects organized in a tree-like structure:
Document
└── html
    └── body
        ├── h1
        └── p
JavaScript can interact with these objects.
This means your code can:
Find Element → Read Content → Change Content → Add Element → Remove Element → Respond to User
The HTML file itself doesn't need to be rewritten every time something changes on the screen.
Selecting HTML Elements
Before modifying an element, JavaScript needs to find it.
getElementById()
Given:
<h1 id="title">Hello</h1>you can select it with:
const title = document.getElementById("title");querySelector()
querySelector() accepts a CSS selector and returns the first matching element.
const button = document.querySelector(".submit-button");You can use familiar selectors:
document.querySelector("#title");
document.querySelector(".card");
document.querySelector("nav a");
querySelectorAll()
To select multiple matching elements:
const cards = document.querySelectorAll(".card");You can then work through them:
cards.forEach(card => {
  console.log(card);
});
For beginners, querySelector() and querySelectorAll() are especially useful because they work naturally with CSS selectors.
Changing Text Content
Suppose your page contains:
<h2 id="status">Waiting...</h2>JavaScript can update it:
const status = document.querySelector("#status");

status.textContent = "Completed!";
The visible page changes immediately.
textContent is a good choice when you're working with plain text.
Changing HTML Content
Sometimes you intentionally need to insert markup.
const message = document.querySelector("#message");

message.innerHTML = "<strong>Success!</strong>";
This renders the <strong> element rather than displaying the tags as text.
However, be careful with innerHTML.
Never insert untrusted user-provided content directly into innerHTML, because doing so can create security vulnerabilities.
For ordinary text, prefer:
element.textContent = value;Changing Attributes
JavaScript can read and modify HTML attributes.
Given:
<img id="photo" src="old-image.jpg" alt="Old image">you can write:
const photo = document.querySelector("#photo");

photo.setAttribute("src", "new-image.jpg");
photo.setAttribute("alt", "Updated image");
You can retrieve an attribute:
const source = photo.getAttribute("src");or remove one:
photo.removeAttribute("title");Many common properties can also be accessed directly:
photo.src = "new-image.jpg";
photo.alt = "Updated image";
Working With CSS Classes
Changing classes is one of the cleanest ways to modify an element's appearance.
Suppose CSS contains:
.highlight {
  background: yellow;
  font-weight: bold;
}
JavaScript can add the class:
element.classList.add("highlight");Remove it:
element.classList.remove("highlight");Toggle it:
element.classList.toggle("highlight");Check whether it exists:
element.classList.contains("highlight");This keeps responsibilities separated:
JavaScript → Decides what changes
CSS → Defines how it looks
That's generally cleaner than writing many styles directly from JavaScript.
Changing Styles Directly
JavaScript can also modify inline styles:
const box = document.querySelector(".box");

box.style.backgroundColor = "blue";
box.style.padding = "20px";
This is useful for dynamic values, but for predefined visual states, changing CSS classes is often easier to maintain.
Instead of:
box.style.display = "none";you might define:
.hidden {
  display: none;
}
and use:
box.classList.add("hidden");Responding to User Events
DOM manipulation becomes especially powerful when combined with events.
Suppose you have:
<button id="button">Click Me</button>
<p id="message">Nothing happened yet.</p>
JavaScript:
const button = document.querySelector("#button");
const message = document.querySelector("#message");

button.addEventListener("click", () => {
  message.textContent = "You clicked the button!";
});
The workflow is:
User Clicks → Event Fires → JavaScript Runs → DOM Changes
Common browser events include:
clickinputchangesubmitkeydownfocusblurpointerover
You don't need to memorize every event. Learn them as your interfaces require them.
Creating New Elements
JavaScript can create HTML elements dynamically.
const item = document.createElement("li");

item.textContent = "Learn the DOM";
Then add it to the page:
const list = document.querySelector("#task-list");

list.append(item);
This is useful for interfaces where content changes dynamically, such as:
Task Lists → Search Results → Notifications → Comments → Shopping Carts
A Practical To-Do List Example
HTML:
<input id="task" type="text">
<button id="add">Add Task</button>

<ul id="tasks"></ul>
JavaScript:
const input = document.querySelector("#task");
const button = document.querySelector("#add");
const list = document.querySelector("#tasks");

button.addEventListener("click", () => {
  const task = input.value.trim();

  if (!task) return;

  const item = document.createElement("li");
  item.textContent = task;

  list.append(item);
  input.value = "";
});
This small example demonstrates several important DOM concepts:
Select Elements → Read Input → Handle Click → Create Element → Set Text → Insert Element
Understanding this pattern prepares you for much more complex interfaces.
Removing Elements
Elements can also be removed:
const notification = document.querySelector(".notification");

notification.remove();
For dynamically created items, you could attach a button:
deleteButton.addEventListener("click", () => {
  item.remove();
});
This pattern is useful for lists, notifications, shopping carts, and interactive dashboards.
Understanding the Event Object
Event handlers can receive information about what happened.
button.addEventListener("click", event => {
  console.log(event.target);
});
event.target identifies the element where the event originated.
For forms, you may use:
form.addEventListener("submit", event => {
  event.preventDefault();

  // Process form data
});
preventDefault() prevents the browser's default action when that behavior isn't desired.
Event Delegation
Imagine a list containing 100 buttons.
Instead of attaching a separate listener to every button, you can sometimes attach one listener to their parent.
list.addEventListener("click", event => {
  if (event.target.matches(".delete")) {
    event.target.closest("li")?.remove();
  }
});
Because many browser events propagate through ancestor elements, the parent can handle interactions originating from its children.
This technique is called event delegation.
It's particularly useful when elements are added dynamically.
Navigating the DOM
Sometimes you need to move between related elements.
Useful properties and methods include:
element.parentElement
element.children
element.firstElementChild
element.nextElementSibling
element.previousElementSibling
element.closest(".card")
For example:
const button = document.querySelector(".delete");

const card = button.closest(".card");
closest() searches upward through ancestors until it finds an element matching the selector.
Wait Until the DOM Is Ready
If JavaScript executes before the HTML elements it needs have been parsed, selectors may return null.
One approach is loading scripts with defer:
<script src="app.js" defer></script>This allows the browser to download the script while parsing HTML and execute it after the document has been parsed.
You may also encounter:
document.addEventListener("DOMContentLoaded", () => {
  // DOM code
});
Understanding when your JavaScript executes prevents many beginner errors.
Common DOM Manipulation Mistakes
Selecting the Wrong Element
Check your IDs, classes, and selectors carefully.
Overusing innerHTML
Use textContent when inserting plain text, especially when content may come from users.
Changing Too Many Inline Styles
Prefer toggling CSS classes for predefined visual states.
Forgetting preventDefault()
Forms and links have default browser behaviors that may interfere with custom interactions.
Ignoring Accessibility
If JavaScript changes an interface, make sure keyboard users and assistive technologies can still operate it.
Manipulating the DOM Unnecessarily
Repeated DOM changes can become inefficient in complex interfaces. Create or update only what actually needs to change.
A Simple DOM Learning Roadmap
Learn DOM manipulation in this order:
1. Select elements
querySelector()
↓
2. Change content
textContent
↓
3. Manage classes
classList
↓
4. Handle events
addEventListener()
↓
5. Create elements
createElement()
↓
6. Add and remove elements
append() + remove()
↓
7. Learn event delegation
Once these concepts become comfortable, interactive JavaScript becomes much easier to understand.
Conclusion
DOM manipulation is the bridge between JavaScript and the webpage users actually see.
The essential workflow is simple:
Select → Listen → Modify
You select an HTML element, listen for something to happen, and update the DOM when necessary.
Start by building small projects such as a counter, theme switcher, to-do list, character counter, accordion, or simple form validator. These projects teach the same DOM concepts used in larger web applications.
You don't need to memorize dozens of methods.
Master the fundamentals of selecting elements, changing content, managing classes, handling events, and creating elements, and you'll have the foundation needed to build genuinely interactive websites.